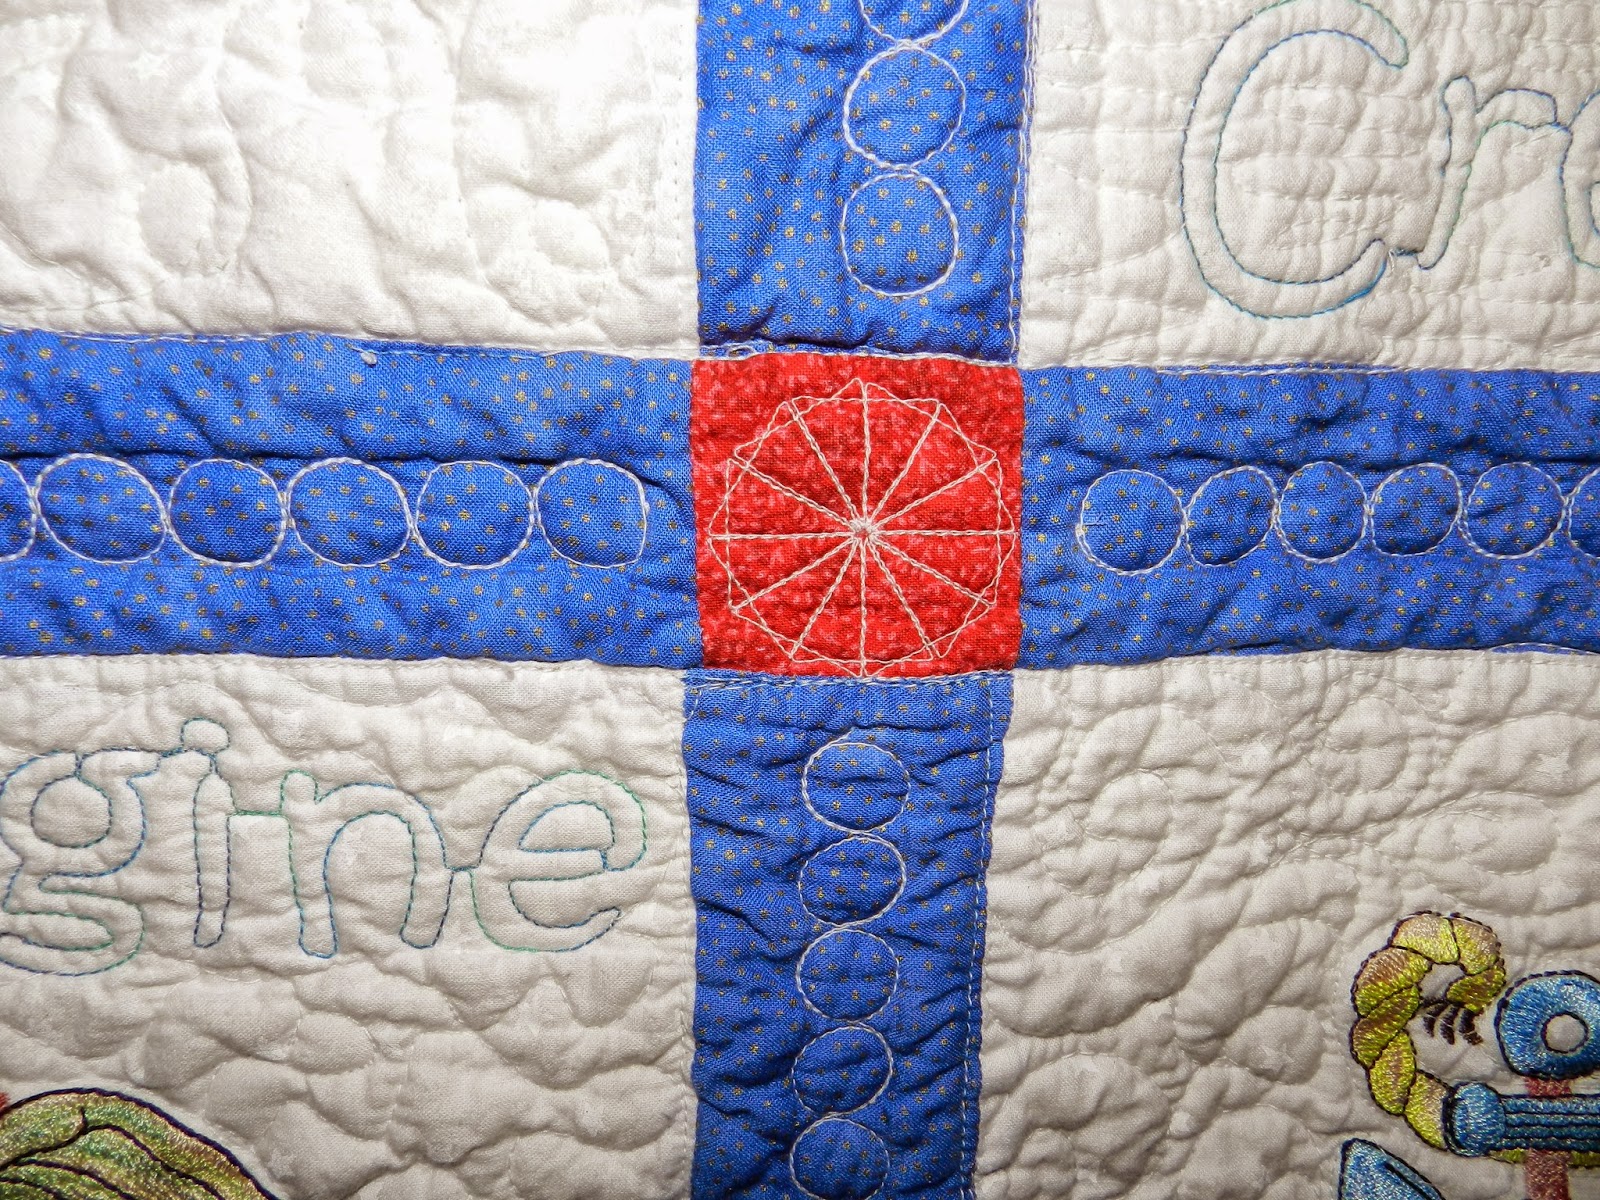
Used the Qbot for sashing designs, border and center stars.
Embroidery Designs: For the Boys by OESD.


 |
| Space Border Design. |
 I scanned in all the old medals that we have given out over the years. I Then compiled them as one page in my Print Shop. I printed them out on my ink jet printer on treated muslin.
 I arranged the photos and medals around the top and quilted it. I used invisible thread to stitch around each picture.
 I used plain muslin as the base of the pillow. I ironed a layer of Wonder Under on the whole pillow back. I wanted something to hold the ribbons in place. I considered washable glue then decided against it. I laid the ribbons down and used my Teflon sheet to protect the iron.
 I used Pigma Micron Black ink to draw the line on the Spider-Man suit. I used monofilament thread over the lines to pop the chest and webs forward. The center spider was embroidered.
 Exploding Pumpkins: used both dark gray and variegated red / orange thread. I made all the eyes look toward Spider-Man.
  The Goblin: I had a hard time doing his face. Just couldn't get it right, but it's fine. I have smoke coming out of all the pumpkins and his flying device. I have no idea what it is called.
  The Borders: I made the red border look like bricks and the outer border filled with webs and spiders!
  |
| The Label |