Evolution of My Home Made Quilt Frame
Stage I
Stage I
I love to make quilts and I love Free Motion Quilting! But........ several years ago I sustained a serious injury to my neck which required surgery. During this time I fell in love with free motion quilting. Needless to say I was in agony fighting with my small domestic machine. I had to find a way to quilt without my neck being in pain all the time. I couldn't afford a good frame of any kind, so I decided to make my own quilting frame. It was made of wood, closet hangers, garden poles and clamps. It worked! The machines have changed and so has the frame. Enjoy the progress.

The Sides: I measured my 6 foot foldable table first to see what size the side boards had to be. I bought pine wood because it was fairly inexpensive. I had two old pieces of molding in house house so I used them to make the base of the wooden sides. The side where held on to the table with four C clamps.


The Rails: The rails where made from upside down closet shelf rails. The are used to mount the shelves. I turned them upside down and used the outside rail. At first I just clamped the ends of the rail with C clamps. I later mounted them to a wooden base.
 |
| I bought a Grace Carriage Upgrade to use on the "rails". |
 |
| Added "Lazer" Found this at the Hardware store for about Three Dollars. |
 |
| The machine I used at the time was a Pfaff 2.0 |
 |
| Added a Grace Speed Control |
STAGE II
Several years later I was able to purchase a Frame, PC Quilter, and a Brother PC1500S for dirt cheep from a fellow guild member who didn't have room for it anymore. I removed the old frame, but keep the rails. I attached the old rails to a wooden base. There are two sets of rails one for the machine, one for the PC Quilter.


The new frame is a wooden table top model, so I still needed to use C claps to hold the frame together. I didn't like the poles the frame came with so I used 10 foot electrical conduit and inserted a ratchet into both ends. They help keep the tension.

 |
| Extender on the ratchet |
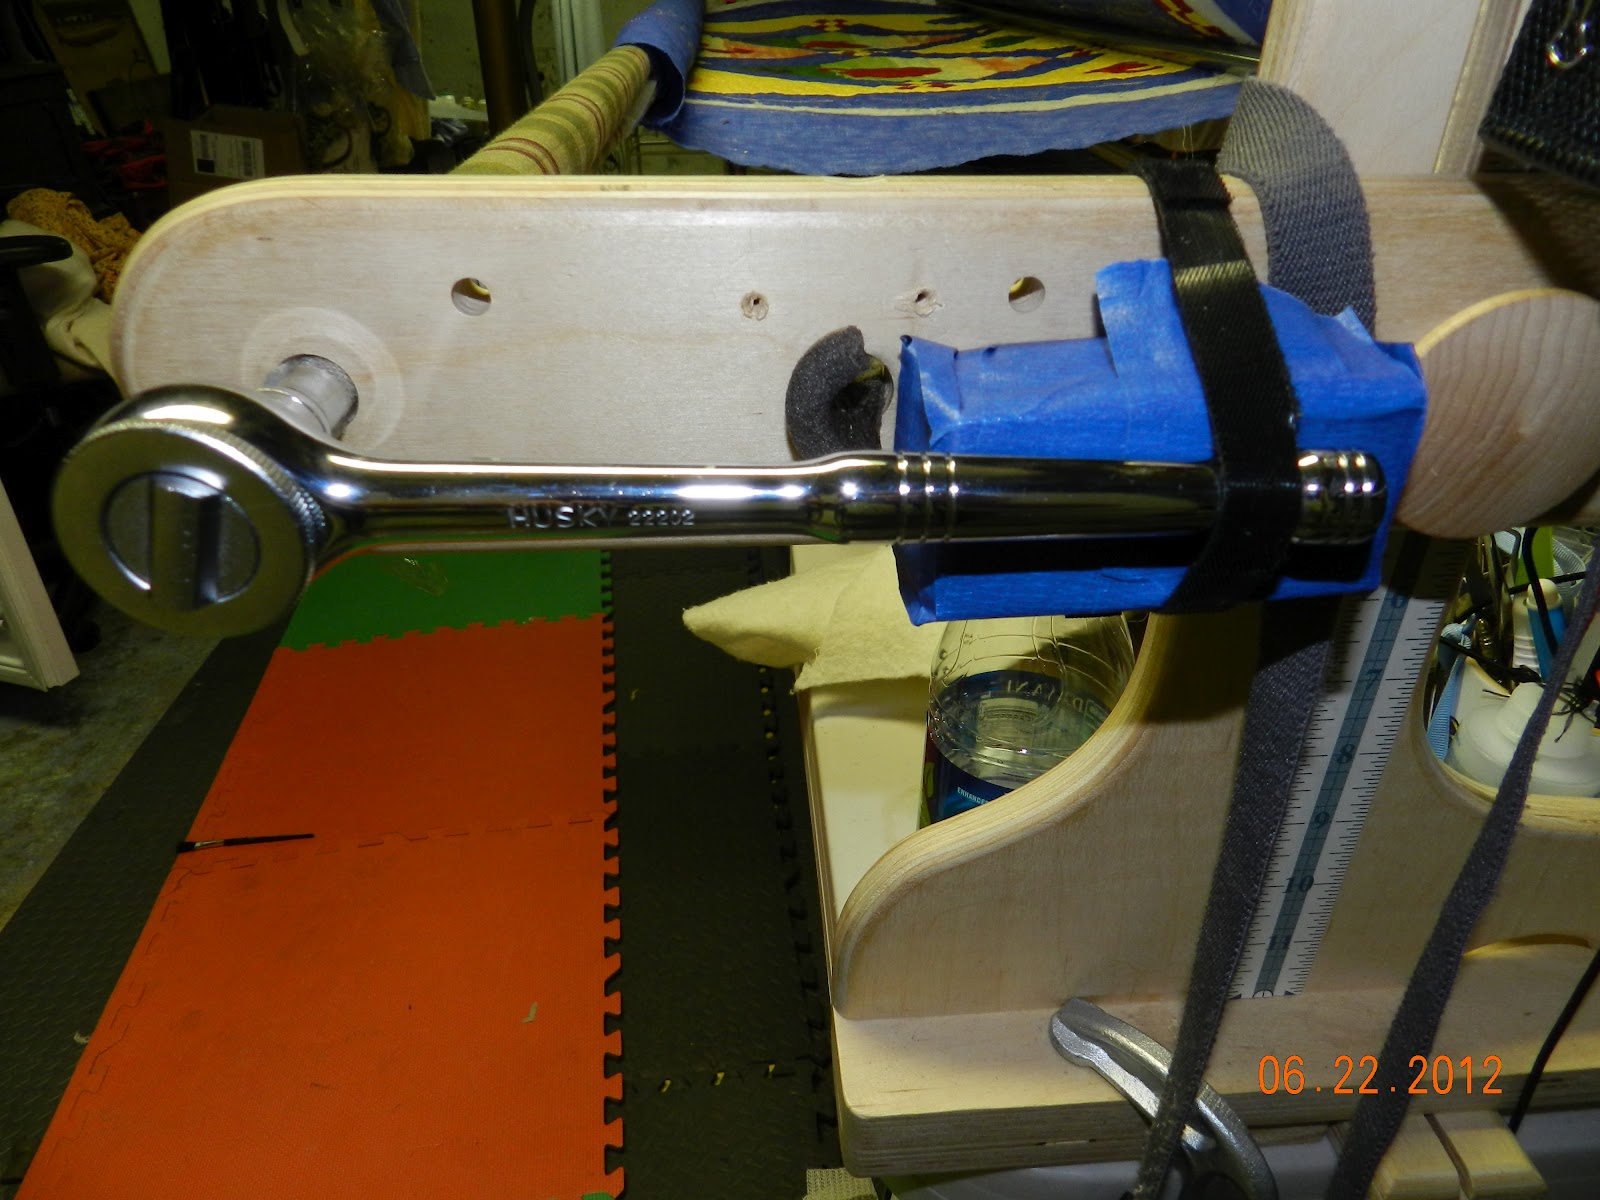 |
| Block helps to keep the ratchet straight. |

Added lights to the ceiling.

This was the size of the PQ1500S. The neck was 9 inches. I sent it out to be stretched.

Here it is at 18 inches.
I person who stretched the machine is no longer in business.
Stage III to be continued....
Wow! Awesome ideas, I had just seen the Grace carriage and was thinking, hmm.....I wonder if I could build me something to use that, because I just can't afford the Little Gracie! Thanks for the inspiration!
ReplyDelete